Introduction️
One of the phases of dynamic analysis of Android applications is the interception of connections made by the application to remote servers. In the case that they use the HTTP protocol can be easily intercepted and manipulated with a proxy server since the protocol does not use encryption. But in the case that it uses the HTTPS protocol we will need to install an SSL certificate from a Certification Authority on our device since the connection will be encrypted with this one. Additionally, some applications use the technique of SSL Pinning, which consists in trusting only certain embedded certificates in the application.️
Web Proxy Configuration and Certificate Setup️
For interception, we can use any SSL Proxy supported by, Burp Suite, ZAP, mitmproxy, Charles Proxy, or HTTP Toolkit. Each one has its own configuration, so we will have to read their corresponding documentation. What we need is an HTTP proxy and a certificate from a Certification Authority. In this case, Charles Proxy will be used which creates an HTTP proxy listening on TCP port 8888 and allows exporting the certificate file in PEM format.️
For configuring the HTTP proxy in the Android Studio emulator, we will press the last button on the side bar that will open the window Extended Controls. Subsequently, we will select Settings > Proxy, uncheck Use Android Studio HTTP proxy settings, select Manual proxy configuration, enter our web proxy data and click Apply. If the connection is correct it will show Proxy status: Success.️
 For importing the certificate on Android 14, we will download it to the machine and add it in Settings
 Security and privacy > More security and privacy > Encryption and credentials > Install a certificate > AC Certificate and press the INSTALL ANYWAY button. Finally, we select it and it will indicate that it has been imported correctly. We will check if it has been installed from the previous menu option Trusted Credentials > User.️
 Disable private DNS from Settings
 Network & Internet > Private DNS.️
Installation of the testing application
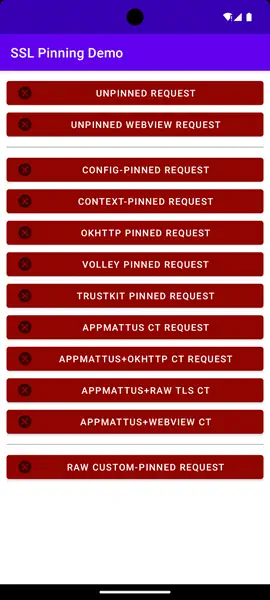
The application android-ssl-pinning-demo [Download] allows us to check if it is possible to bypass the SSL Pinning protections that most applications include. By running it and testing the different options, we will be able to see that it is not possible to make connections.️
Install certificates in the system store
MagiskTrustUserCerts [Download] module will allow us to install Certification Authority certificates in the system’s certificate store (from the user’s store). This will allow us to intercept encrypted HTTPS communications from applications that do not trust user certificates. For Android 14, it is necessary to modify the post-fs-data.sh file in the ZIP archive by adding the following line after MODDIR=${0%/*}.️
$ mount -o bind /system/etc/security/cacerts /apex/com.android.conscrypt/cacerts
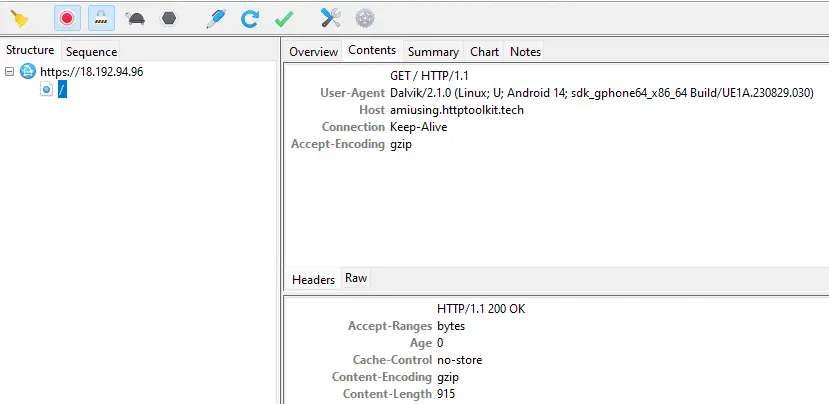
After restarting the system we can find the previously imported certificate in the system’s certificate store. After this step and returning to the Demo application, we can check that the Unpinned Request has been intercepted correctly by our web proxy.️
 The rest of the options in the Demo application continue to fail due to the use by the application of different techniques of SSL Pinning.️
Disabling SSL Pinning with frida-multiple-unpinning️
At this point, there are only two options to bypass this protection: decompile the application, find the code that performs the action, delete it and recompile the application. Or use Frida with a script that modifies the application in real time. We chose the second option using the frida-multiple-unpinning script.️
We need to have the Frida server installed on the device and the client on our system. We will specify in the terminal both the script and the identifier of the application, in this case tech.httptoolkit.pinning_demo.️
$ frida -U --codeshare akabe1/frida-multiple-unpinning -f tech.httptoolkit.pinning_demo
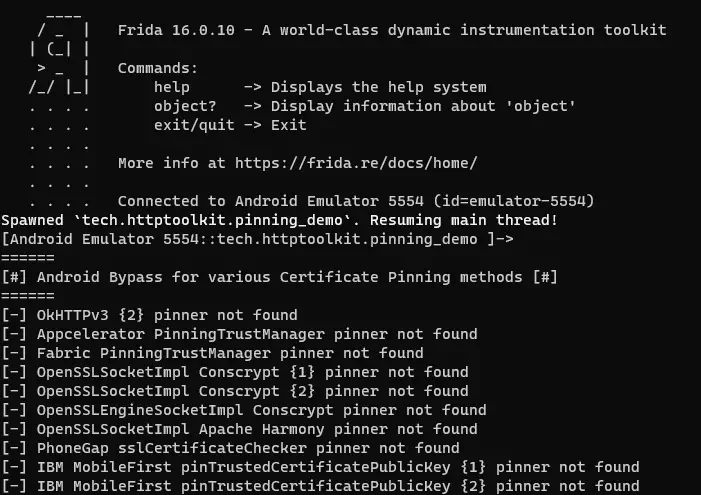 It is possible to bypass all the protections except those of Appmatus.️
Bypassing SSL Pinning with️ frida-interception-and-unpinning
On the other hand, there is another script that automates the actions we have performed previously and bypasses Appmatus protections, Frida Mobile Interception Scripts [Download]. Firstly, we will disable the Android Studio proxy from settings and redirect the proxy port to an internal machine virtual port with ADB, for example, 1234.️
$ adb reverse tcp:1234 tcp:8888
This script requires modification of its configuration from the config.js file. We will modify the variables CERT_PEM with the certificate in PEM format, PROXY_PORT with the redirected port of the web proxy (port 8888), and PROXY_HOST with the localhost IP address.️
// Local testing certificate for now
const CERT_PEM = `-----BEGIN CERTIFICATE-----
MIIFLjCCBB...
-----END CERTIFICATE-----`;

if (CERT_PEM.includes("Put your CA certificate data here")) {
    throw new Error('No certificate was provided' +
        '\n\n' +
        'You need to set CERT_PEM in the Frida config script ' +
        'to the contents of your CA certificate.'
    );
}

// Default emulator address for now:
const PROXY_HOST = '127.0.0.1';
const PROXY_PORT = 1234;
Ejecutamos el conjunto de scripts.
$ frida -U -l ./config.js -l ./native-connect-hook.js -l ./android/android-proxy-override.js -l ./android/android-system-certificate-injection.js -l ./android/android-certificate-unpinning.js -l ./android/android-certificate-unpinning-fallback.js -f tech.httptoolkit.pinning_demo
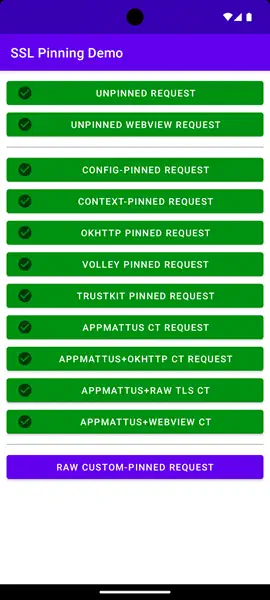
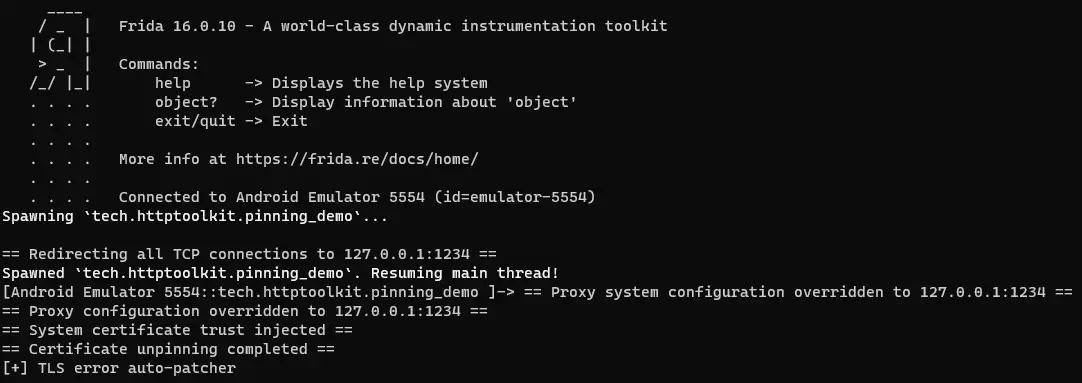 We will finally have overcome the remaining restrictions.️
Conclusion️
Although common SSL Pinning options have been reviewed, the application can implement custom protections, which will require creating a Frida script doing reverse engineering on that method.️